This tutorial is about the basics of Git, although the following explanations are primarily aimed at beginners.
But first, let’s clarify the question of what Git actually does. It is a version control system designed to track changes in source code. Instead of constantly saving new versions of a file, Git manages the different versions in the background. This has the advantage that you only work with one file at a time. To make this work, Git creates a (hidden) subdirectory called “.git” in the project directory in which any changes are recorded.
How to install Git
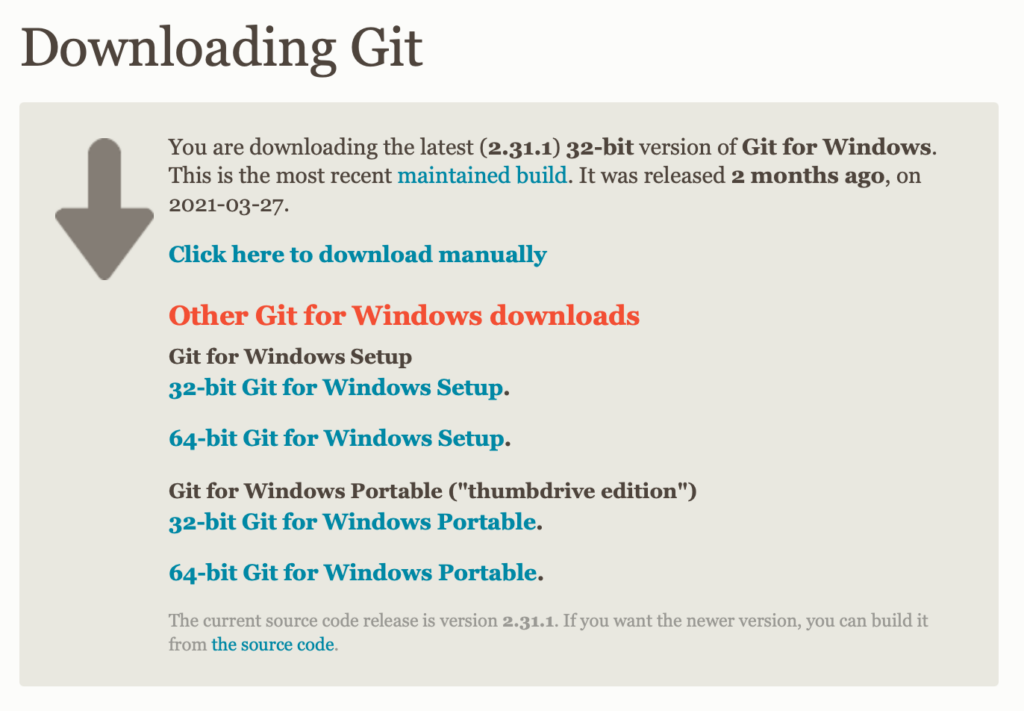
Git for Windows can be downloaded from the official homepage. A 32-bit and a 64-bit version is available.
There are several ways to install Git on macOS. The simplest and most common method is to enter the following command in the terminal:
xcode-select --installBasic settings
Once Git is on the system, your name and email address should be configured:
$ git config --global user.name "Your name"
$ git config --global user.email "Your email adress"
This will create a configuration file for Git called .gitconfig, which is located in your user directory. If no further settings have been made, its contents will now look like this:
[user]
    email = bodo@xyz.com
    name = Bodo Schoenfeld
There are other optional configuration options. For example, you can activate colored text highlighting for better readability in the terminal:
git config --global color.diff auto
git config --global color.status auto
git config --global color.branch auto
Create a local repository
Git is now ready to use. On Linux and macOS, the shell can be used for Git commands. On Windows systems, PowerShell can be used. In addition, a Git Bash is also installed on Windows computers.
Simply entering the command git displays the Git commands available. We want to start by creating a local repository, i.e. we start with the command git init. In order to be able to follow the following steps, it makes sense to use a sample project. For this Git tutorial, I have chosen a simple website. There is only one file called “index.html”, which is located in my “Website” directory. The contents of the file look like this:
<!DOCTYPE html>
<html lang="en">
<head>
  <meta charset="utf-8">
  <title>My Website</title>
  <!--
  <link rel="stylesheet" type="text/css" href"css/style.css">
  -->
</head>
<body>

  <header>
    <h1>This is the home page</h1>
  <header>

</body>
</html>
The local directory “Website”, which is currently not under version control, will now be changed to a Git repository. To do this, go to the “Website” directory and execute the following command:
$ git initAdd files to the repository
In a second step, the files must now be added to this repository:
$ git add .The dot after git add means that all files in the current directory should be added. Git will take care of these files from now on. If more files are added later, Git must also be informed of this. For example, a file named “styles.css” would be added as follows:
$ git add styles.cssNow our first commit can be made. All files that were previously added with git add, or in other words, selected for a commit, can now be committed to Git. This means that all previous changes to the files will be recorded in the Git history.
A commit is performed with the command git commit. In addition, the option -m is used. This allows a description to be added. The complete statement looks like this:
$ git commit -m "My first commit"If you just type git commit (without the -m option), this would open an editor (e.g. vim). This editor would then have to be used for a description.
Status and branches
The current status of a repository can be determined with the following command:
$ git statusIf the just performed commit was successful, the following should now appear:
On branch main
nothing to commit, working tree clean
The line “On branch main” is interesting. By default, Git creates a main branch. This branch used to be called “master”. It is possible to add more branches. This can be useful, for example, if different (new) features are to be developed for a project. The developers then only work with the versions in the corresponding branches. Once development of a feature has been committed, changes made to files in the site branch could be committed to the main branch. However, if it turns out that the feature cannot be implemented, work on it could be stopped and the site branch could be deleted. By doing this, the main branch always remains untouched.
Modify a file
Sooner or later, work will be done on the project. And the changes made should of course be committed. In this example, I am changing the heading h1 in the file “index.html”.
The following code
<header>
    <h1>This is the home page</h1>
    <header></header>
</header>
is changed as follows:
<header>
    <h1>Welcome to my homepage!</h1>
    <header></header>
</header>
Let’s now take a look at the current status:
$ git statusWe receive this information:
On branch main
Changes not staged for commit:
  (use "git add <file>..." to update what will be committed)
  (use "git restore <file>..." to discard changes in working directory)
    modified:   index.html

no changes added to commit (use "git add" and/or "git commit -a")
You can see the message that “changes not staged for commit”. In Git, staging refers to the process of preparing changes for a commit. What needs to be done is stated in the following line:
use "git add" and/or "git commit -a"You can use the git add command to stage changes, where I again use the dot to indicate that changes to all files should be added:
$ git add .Alternatively, I could specify the file name instead of the dot:
$ git add index.htmlA commit can then be performed:
$ git commit -m "update h1 headline"
[main 4ddcebc] update h1 headline
 1 file changed, 1 insertion(+), 1 deletion(-)
Now you know the basics of Git, although in this example only a local repository was created. In future articles I will also touch on remote repositories.