Programming applications for the desktop is not a focus for me these days. Nevertheless, I have not lost interest in it. So every now and then I take a look at different programming languages that can be used to implement this. This includes Python and Tkinter. In this blog post I would like to show how a simple window can be created with them. Let’s get started.
Install Tkinter
Tkinter is already available on Windows and macOS when you install Python. Linux users may need to install the corresponding package. For Debian-based systems, the installation instructions are as follows:
sudo apt install python3-tkFedora users can install Tkinter using the following command:
sudo yum install python3-tkinterYou can check whether Tkinter is working in the Python Shell:
>>> import tkinter
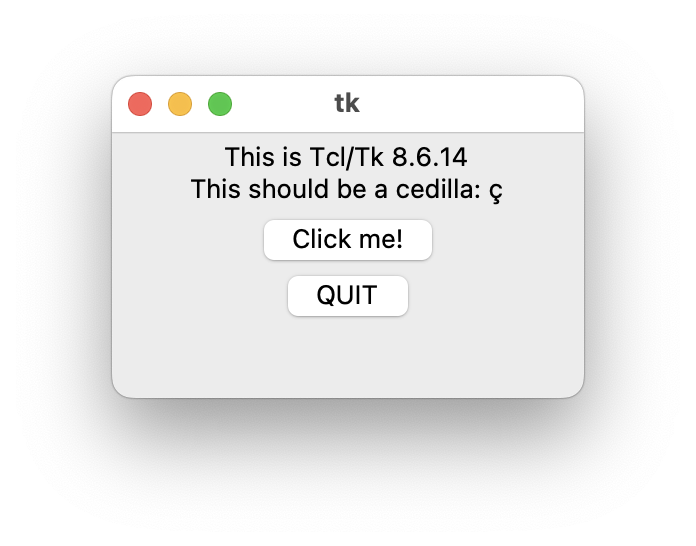
>>> tkinter._test()A small window should appear containing, among other things, the following text: „This is Tcl/Tk version 8.6.14“.
Create a Hello World window
First, Tkinter must be imported:
import tkinter as tkThen continue with the following code:
root = tk.Tk()
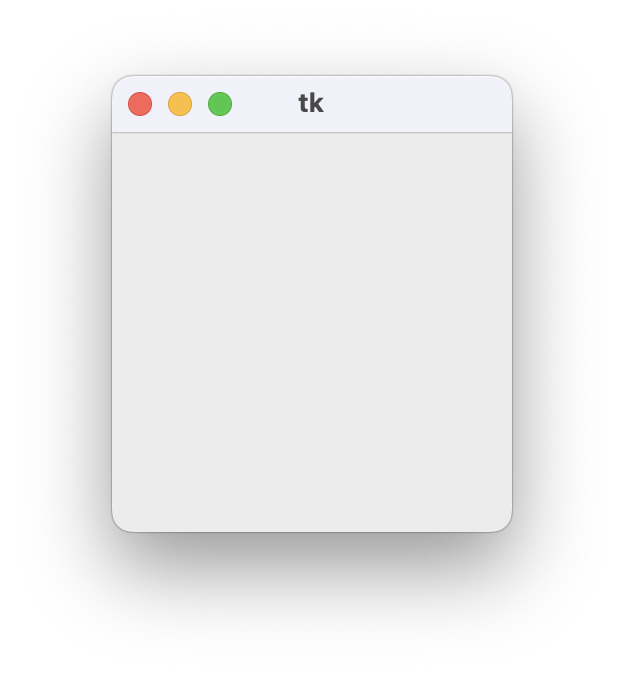
root.mainloop()The line root = tk.Tk() initializes the window. The next line root.mainloop() starts the event loop (also: main loop). This is enough to make a simple window appear. On macOS the result looks like this:
The next step is to add a title and “Hello, World!” should appear in the window. Let’s start with the title:
root.title("My first Tkinter window")It could be that the window for displaying the title is too narrow. Therefore, it is useful to set the window size:
root.geometry("400x200")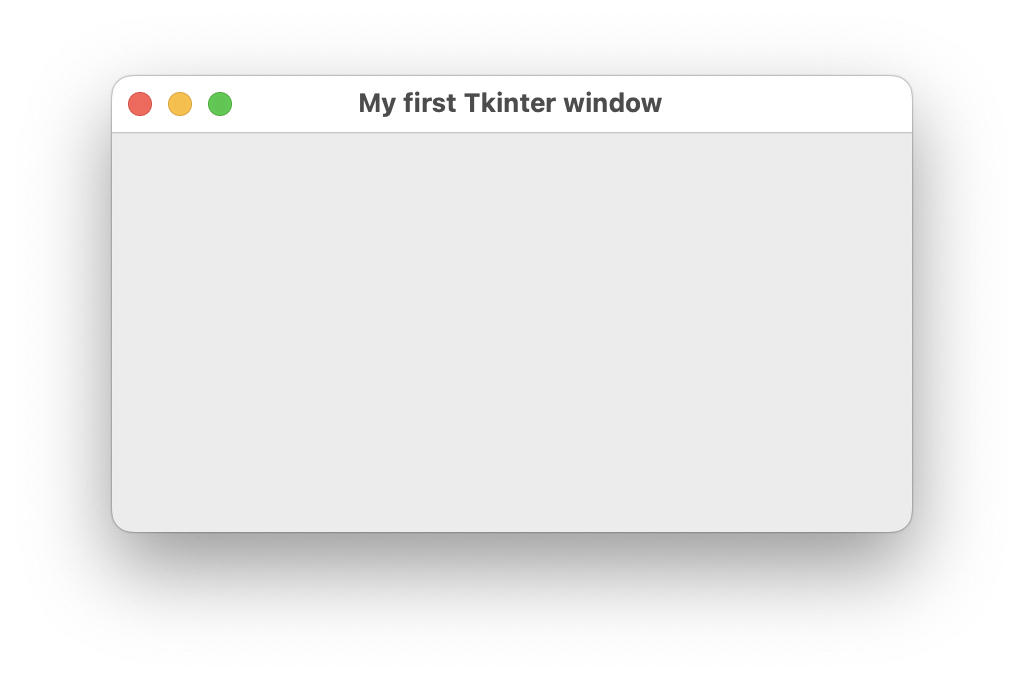
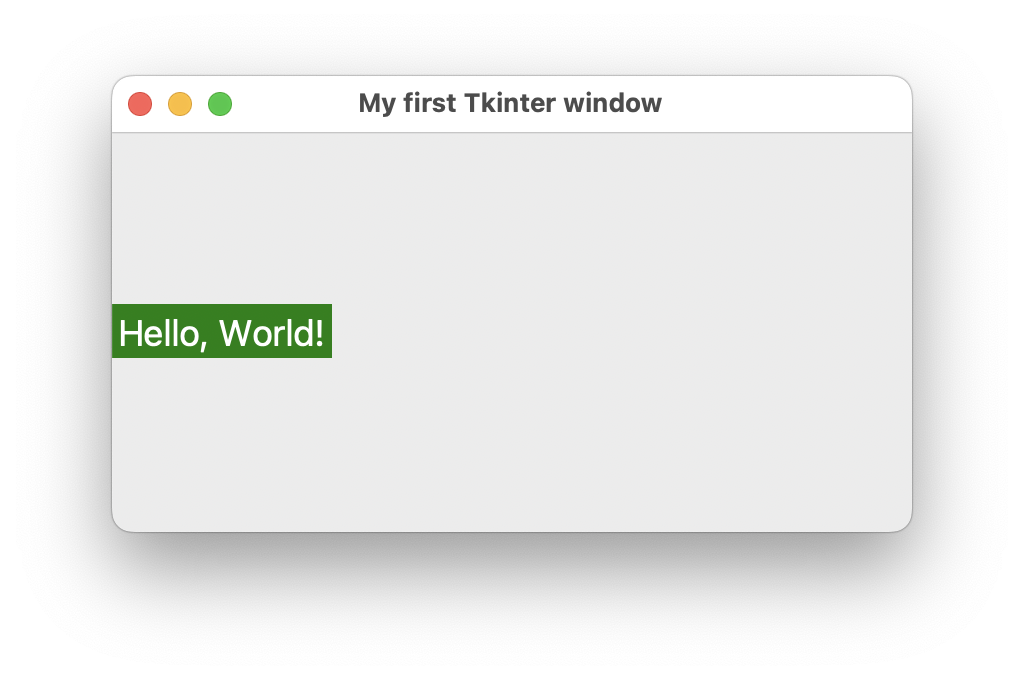
Finally, a label widget is added. This allows text to be displayed. This widget will be customized to have a green background, white font, and 18pt font size.
tk.Label(
    root,
    text="Hello, World!",
    background="green",
    foreground="white",
    font=("TkDefaultFont", 18),
).pack()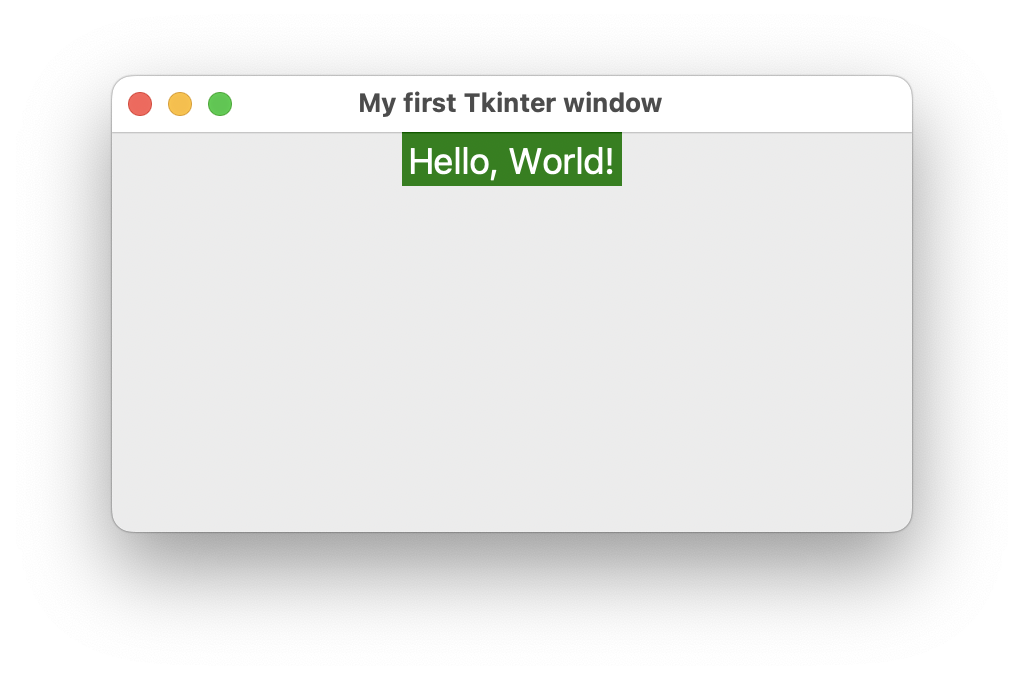
The first argument passed to tk.Label() is the name of the object (here: root) to which the widget should be added. The rest of the code should be self-explanatory, with the exception of pack().
Layout managers are responsible for the alignment of widgets. Tkinter provides three layout managers, one of which is pack (the other two are place and grid). The pack() method arranges the Label widget at the top and centered. Various parameters are available to adjust the position of an element. For example, pack(side="left") causes a widget to be placed left-aligned.
The complete code now looks like this:
#!/usr/bin/env python3

import tkinter as tk

root = tk.Tk()
root.title("My first Tkinter window")

root.geometry("400x200")

tk.Label(
    root,
    text="Hello, World!",
    background="green",
    foreground="white",
    font=("TkDefaultFont", 18),
).pack()

root.mainloop()
Grid Layout Manager
Nowadays the modern grid layout manager is used. Applied to this example the code would have to be changed to
grid(row=0, column=0)We use the grid() method to place the label in the window. The row and column parameters specify the position of the widget in the grid. Here, the label is placed in the first row (row=0) and first column (column=0).
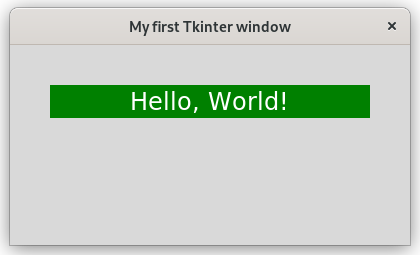
In contrast to the example above, the label widget is not centered. This can be changed with grid_columnconfigure() and grid(sticky="nsew"):
root.grid_columnconfigure(0, weight=1)

tk.Label(
    root,
    text="Hello, World!",
    background="green",
    foreground="white",
    font=("TkDefaultFont", 18),
).grid(row=0, column=0, padx=40, pady=40, sticky="nsew")
The parameter weight=1 gives the column a flexible resizing ability. A higher weight means more expansion when the window resizes. And with grid(sticky="nsew") the label will stretch proportionally within the centered column and row, ensuring proper alignment. Additionally, this example uses padx=40, pady=40 so that the label widget does not span the entire row. On Debian Linux, the following window will appear after executing this code:
Last updated on February 7th, 2025