To get started with C++ programming on a Mac, you need a compiler and a program for writing the code. This blog post explains how to install these components.
Install a compiler
A compiler may already be installed on the Mac. This is the case, for example, if Apple’s Xcode is installed. You can check whether a compiler is present in the terminal using the following command:
clang -vIf you see a message similar to the following, then the Apple Clang compiler is present on the system.
$ clang -v
Apple clang version 11.0.3 (clang-1103.0.32.29)
Target: x86_64-apple-darwin19.4.0
Thread model: posix
InstalledDir: /Applications/Xcode.app/Contents/Developer/Toolchains/XcodeDefault.xctoolchain/usr/bin
If this response does not appear, the compiler can be installed in the terminal with the following command:
xcode-select --installAlternatively, you can also install Xcode via the App Store.
Install an Editor or an IDE
Now let’s move on to the editor. Basically any conventional editor can be used for C++ programming. Of course, editors that offer support for programming languages are better suited, for example Visual Studio Code (together with Microsoft’s C++ Extension), Sublime Text, Vim or Emacs. An IDE (Integrated Development Environment) offers even more convenience, although the range of functions associated with such an application can also be daunting. Below we take a look at Visual Studio Code, CLion and Xcode.
Visual Studio Code
The popular cross-platform editor Visual Studio Code comes from Microsoft. Visual Studio Code is a code editor, but in my opinion you can now also call it an IDE due to its range of functions.
Once downloaded and installed, open the extension area in Visual Studio Code and look for the C/C++ extension from Microsoft. Then you can get started: Open the terminal and create a new project, then change to the project directory, create the file “main.cpp” and start Visual Studio Code. Here are the necessary commands:
$ mkdir helloworld
$ cd helloworld
$ touch main.cpp
$ code .
In Visual Studio Code, select the file “main.cpp” and add the following code:
#include <iostream>
using namespace std;

int main() {
    cout << "Hello, World!" << endl;
    return 0;
}
In the terminal, this code can be compiled as follows:
clang++ -o hello main.cppThe result is the executable file “hello”, because “hello” was specified as the output file (option -o). This file can now be executed:
$ ./hello
Hello, World!
JetBrains CLion
After introducing an editor, we now look at an IDE, namely CLion from JetBrains. You may have already heard of or used other products from this software company, such as PyCharm or Webstorm. CLion is a commercial product, but it is possible to download a 30-day trial version.
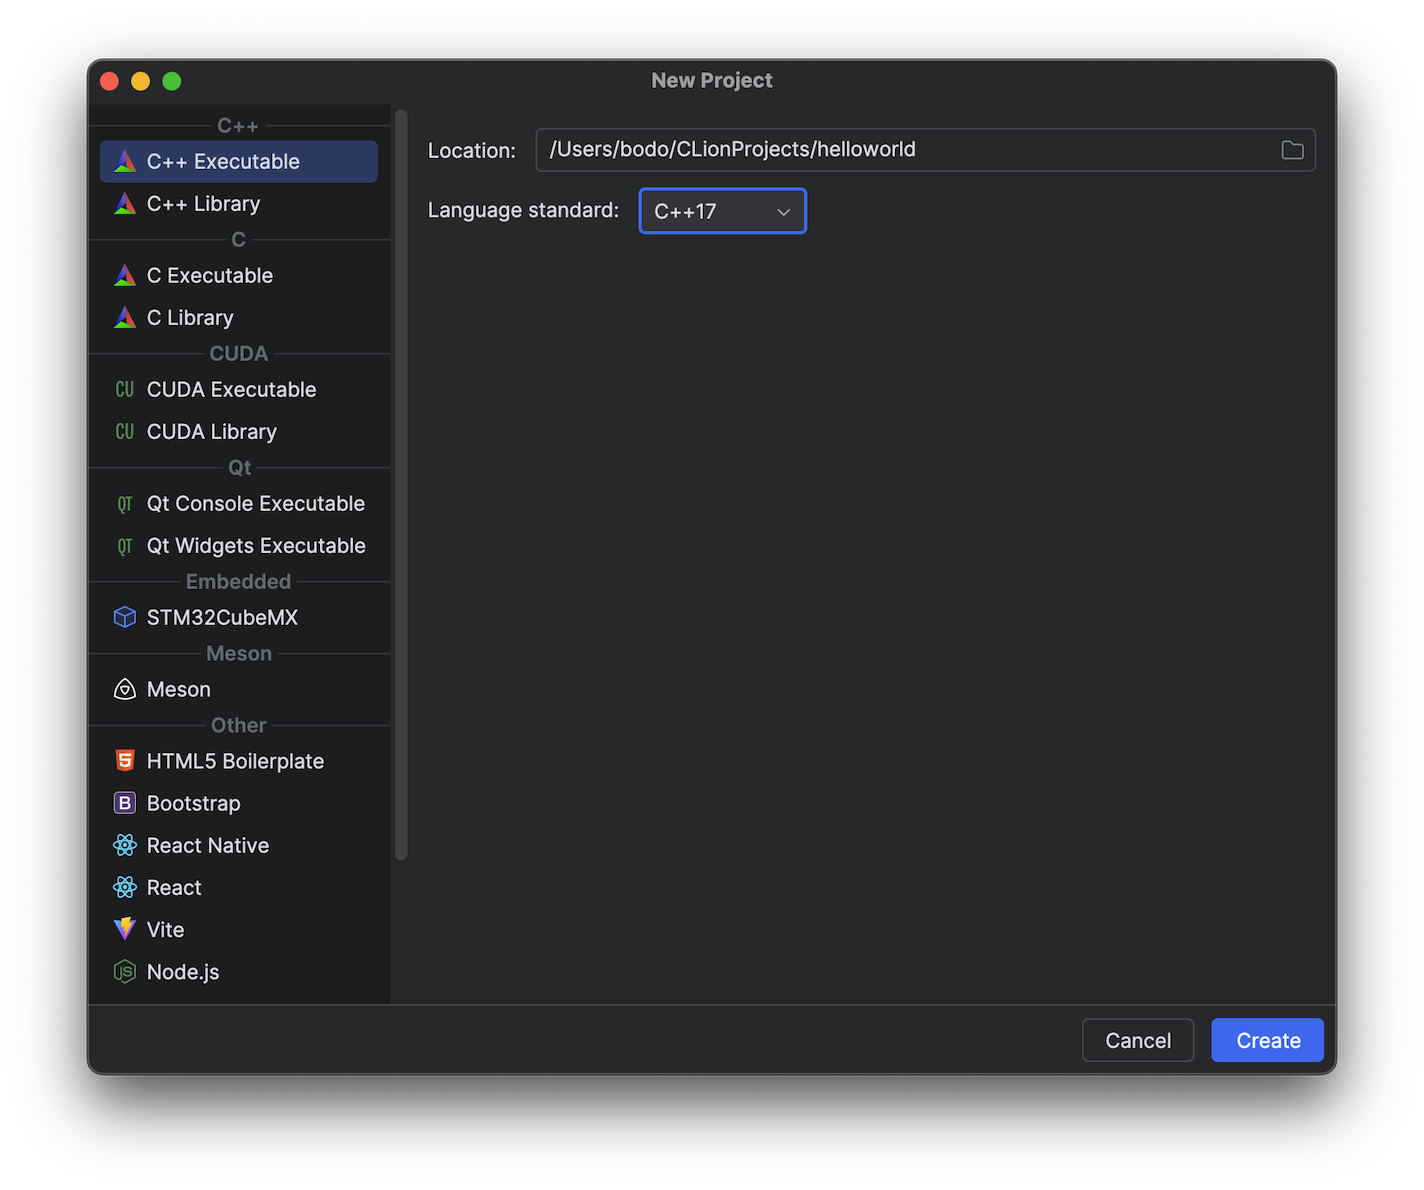
After starting CLion, a welcome window opens in which you can start a new C++ project by clicking on “New Project”. When you create the first project, it is checked whether all requirements are met, i.e. whether a compiler is installed on the system. The editor then opens with a Hello World code:
#include <iostream>

int main() {
    std::cout << "Hello, World!" << std::endl;
    return 0;
}
The Play button (►) at the top right starts the compilation and executes the program. The Run window appears below the editor area and displays “Hello, World!”.
CLion is certainly more complex than Visual Studio Code, but in the very good online documentation you will find a lot of useful information from installation to the user interface to debugging.
Xcode
Apple’s development environment is also quite complex. However, a simple C++ program can be created quickly. To do this, start Xcode and select „Create a new Xcode project“. In the window that opens, click on „Command Line Tool“ and in the next window, enter the required information on the following points:
- Product Name
- Organization Identifier
- Language
The “Product Name” is the name of your program. The “Organization Identifier” is a reversed URL, e.g. com.mycompany. C++ must be selected as the “Language”.
Finally, you have to choose the storage location and you can remove the check mark next to “Create Git repository on my Mac”.
The navigation area on the left now gives you access to the file “main.cpp”, which is simply listed as “main”. This file already contains the code for outputting “Hello, World!”, so you can run the program by clicking on the Play button (►).
In the past, the developer community has occasionally complained that the support for C++ in Xcode is not particularly good. Nevertheless, this development environment may be sufficient for your use cases. And it is free.
