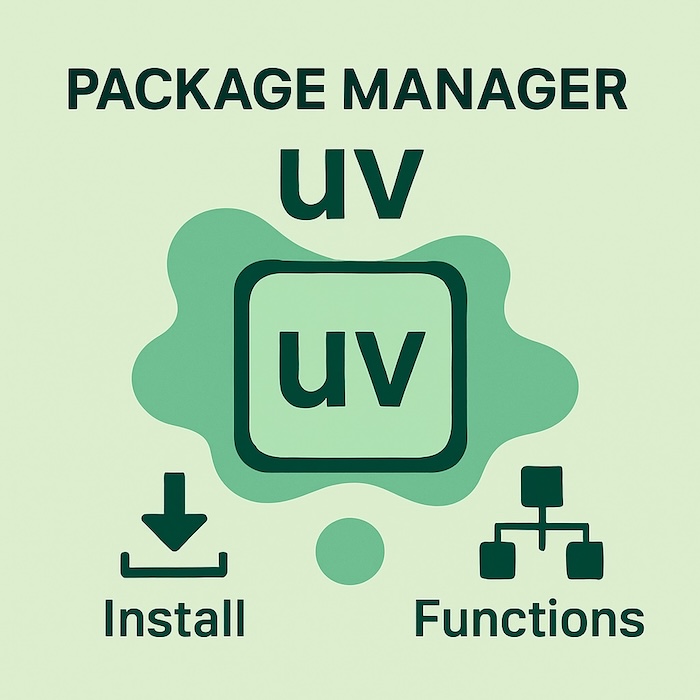
uv is a package manager written in Rust that is an alternative to pip. It allows you to isolate a project, meaning packages installed with uv are only available to the respective Python project. This makes it possible to install different package versions for different projects. When a package is installed with uv, the package manager automatically sets up and manages a virtual environment. In summary, uv combines the functionality of a package manager and a virtual environment in one program.
Installation
There are several ways to install uv on macOS. You can download or install the standalone version using curl or wget. Typically, you’ll use curl because it’s installed by default on your Mac, while wget must first be installed with Homebrew, for example.
Installation with curl:
curl -LsSf https://astral.sh/uv/install.sh | shInstallation with wget:
wget -qO- https://astral.sh/uv/install.sh | shThose of you who have Homebrew installed can also use this package manager to install uv:
brew install uvpip and cargo are also available as installation methods. If you want to use cargo, you must first have Rust installed on your system.
Commands
Numerous options are available for uv, as running uv --help demonstrates. Perhaps the most interesting question, however, is how to initialize a new Python project with uv. Let’s assume the new project is to be named “my-python-project.” First, create a directory with this name and then change to this directory in the Terminal. Now, run this command:
uv initThis will create a folder named “.git” and five files:
- .gitignore
- .python-version
- README.md
- main.py
- pyproject.toml
Both “.git” and “.gitignore” are required for Git. This is a software for versioning files. The “README.md” file contains information about the project. It is mandatory for projects that are transferred to GitHub, for example. The “main.py” file is the entry point for your program. And the “pyproject.toml” file contains information about the project, which becomes relevant when building a package that you want to publish (e.g., on PyPi)). Now, the packages required for the project could be added. In this example, I want to add requests:
uv add requestsRunning this command creates a virtual environment. A directory named “.venv” is added to the project. Requests is installed in this directory along with all dependencies. In addition, the file “pyproject.toml” is extended with a corresponding entry in the dependencies section.
Using the command uv tree, you can now display which packages have been installed for this project. At this point, after installing requests, you’ll get the following output:
Resolved 6 packages in 11ms
my-python-project v0.1.0
└── requests v2.32.3
    ├── certifi v2025.1.31
    ├── charset-normalizer v3.4.1
    ├── idna v3.10
└── urllib3 v2.3.0Uninstalling a package is done with the following command:
uv remove <package>If the file “requirements.txt” is present in the project, it can be passed as an argument to uv add so that all packages listed in this file are installed.
uv add -r requirements.txtFor a newly cloned repository, you should run the following command:
uv syncThis creates a virtual environment (in the .venv folder) and downloads any missing packages.
For all other commands, I would like to refer you to the official documentation. At this point, I’d just like to mention how to update uv:
uv self updateConclusion
The package manager uv is still quite new, and it remains to be seen how this project will develop. However, due to the program’s high performance, there is now an alternative that can be particularly useful for very large projects. The fact that uv essentially combines a package manager and a virtual environment simplifies the management of Python projects. Therefore, you should at least give uv a try.
Last updated on August 29, 2025