Rust is a very young language in the field of systems programming. The first stable version was released in 2015, but it was announced as early as 2010. It combines different programming paradigms, namely from functional, object-oriented, and concurrent programming. This means that programmers from other programming languages will quickly find familiar elements, but may also be put off by those paradigms that they are not familiar with.
An installation program is available for installing Rust, which can be downloaded from this website for both 32-bit and 64-bit systems.
If you are using the Windows Subsystem for Linux, you should use curl for the installation. The command to enter in the Terminal is:
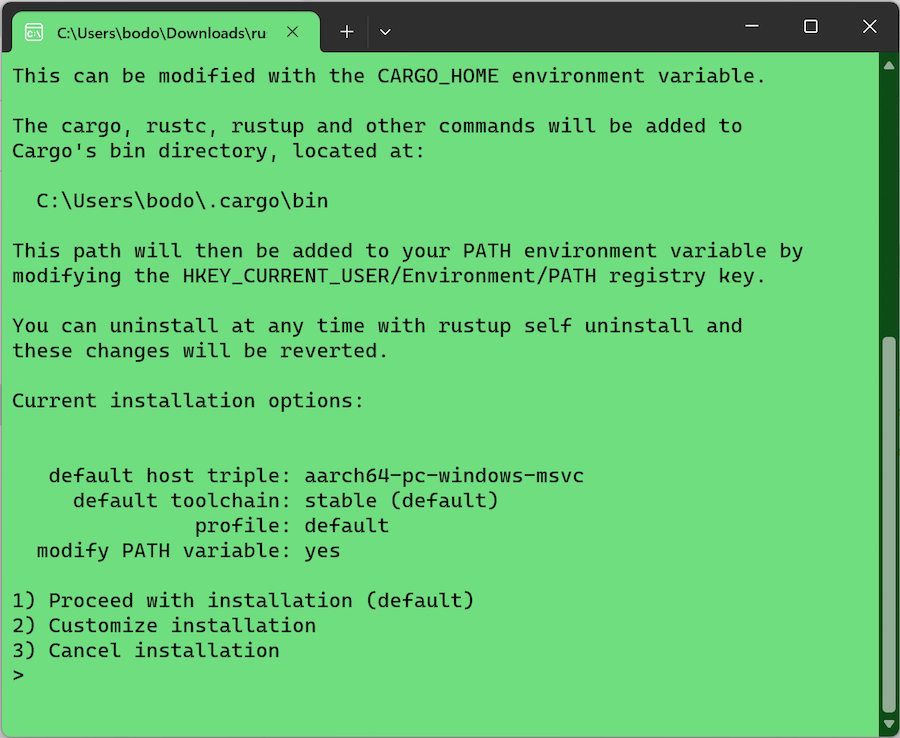
curl --proto '=https' --tlsv1.2 -sSf https://sh.rustup.rs | shAfter double-clicking the installation file, the Windows Terminal opens. By default, “Proceed with installation” is selected, so the installation starts with a confirmation by pressing the Enter key. However, the installation can also be customized.
If the MSVC Build Tools for Visual Studio are not installed on your system, you will be prompted to install Visual Studio 2026. However, you can also download the MSVC Build Tools separately without having to install Visual Studio 2026. On the Visual Studio download page, scroll down and look for “Tools for Visual Studio”. There, you will find the current download link for the Build Tools for Visual Studio 2026, among other tools.
Once all the necessary components have been downloaded and installed, the message “Rust is installed now. Great!” will appear.
Uninstallation can be performed with the following command:
rustup self uninstallAnd updating Rust to a new version is done with the following command:
rustup updateAfter the installation
Once the installation of Rust is complete, three new commands are available. It is recommended to run all three commands in the terminal with the --version option to ensure that the installation was successful:
rustc --version
rustdoc --version
cargo --version
rustc is the Rust compiler. rustdoc allows you to create documentation (in HTML format). The central management tool for compilation and packages is cargo. While the compiler can be started with rustc, it is generally recommended to use cargo instead.
Creating a new Rust project
With cargo, it is possible to create a new project with a simple project structure. The following command creates the package “hello”:
cargo new helloThis creates a new folder with the same name. Inside, along with the “Cargo.toml” file, there’s a subfolder named “src”. As the name suggests, this directory contains the code files. Initially, there’s only one file: “main.rs”.
hello
  |
  |--Cargo.toml
  |--src
|-- main.rsThe main.rs file
Let’s take a look at the “main.rs” file, which is located in the “src” subfolder. To do this, we first navigate to the project directory in the terminal using cd:
cd helloAfter navigating to this directory, you can now open Visual Studio Code with the following command:
code .The “main.rs” file contains only three lines of code:
fn main() {
    println!("Hello, world!");
}This is the main() function – initiated by the keyword fn – which has the task of printing the text “Hello, world!” using the println!() macro (recognizable by the exclamation mark).
This code can be executed in the terminal, which can be started from the Visual Studio Code menu bar:
> Terminal > New TerminalFor compiling and running the program, use cargo:
cargo runor:
cargo rIn the terminal, you will see “Hello, World!”. Additionally, a new subfolder named “target” is added. It contains, in the “debug” subfolder, the files created by the compiler, including the executable program “hello.exe”.
The files created during the build process can be deleted with the following command:
cargo cleanIf you only want to perform the build process without executing the program, use the following command:
cargo buildIn addition, the following command is useful:
cargo checkThis allows you to check if the code triggers any warnings or errors, in other words, whether it can be compiled. An executable file is not created in this process.
Now you know how to get started with Rust. If you want to learn more about Rust, you should definitely take a look at the official documentation.
RustRover
RustRover is a very good development environment for Rust, which is available for free in the Community Edition for download. RustRover was developed by JetBrains, who have previously provided Rust plugins for their IDEs.